Edit the Cursor with Effects
Learn how to add cursor effects to enhance the cursor in your recording or hide it from view.
Learn how to add cursor effects to enhance the cursor in your recording or hide it from view.
Note: It is only possible to edit cursor properties, add effects, and hide the cursor for screen recordings captured with Camtasia, also known as TREC files. The exception is the Cursor Path Creator effect, which cannot be applied to TREC files.
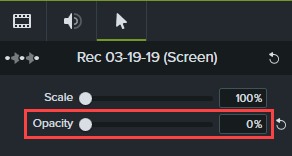
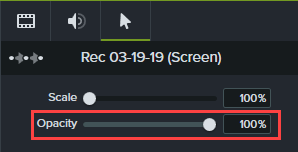
Adjust the size and opacity of the cursor.
Add a cursor effect to improve visibility and focus for all or part of a screen recording.
Note: To remove a cursor effect, open the Effects tray on the media on the timeline, click to select the effect, and press the Delete key.
| Effect | Description and Properties |
|---|---|
Cursor Color | Edit the cursor fill and outline to match your brand or to stand out from screen content. |
Cursor Path Creator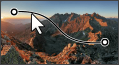 | Add a cursor and animate it to travel anywhere on the screen. See Customize Your Cursor and Path. |
Cursor Shadow | Add a visual effect that makes your cursor appear to float above the screen. Adjust the angle, offset (distance from the cursor), opacity, and blur of the shadow. |
Cursor Smoothing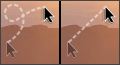 | Transforms distracting cursor movements into smooth lines. See Quickly Smooth Cursor Movements. |
Cursor Spotlight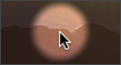 | Draws attention to the cursor by dimming and blurring the rest of the screen area. Adjust these properties to customize the effect:
|
Highlight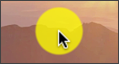 | Adds a circle of color to help the viewer identify and follow the cursor. Adjust these properties to customize the effect:
|
Magnify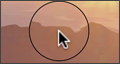 | Enlarges the cursor area to show detail. Adjust these properties to customize the effect:
|
You can hide the cursor on any Camtasia screen recording (TREC file) added to the timeline.
To hide the cursor for an entire clip:
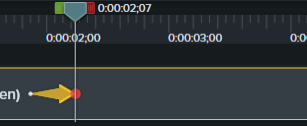
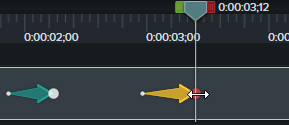
To hide the cursor for a duration of a clip: