
Tactile Art Club - Salt Dough Ornaments
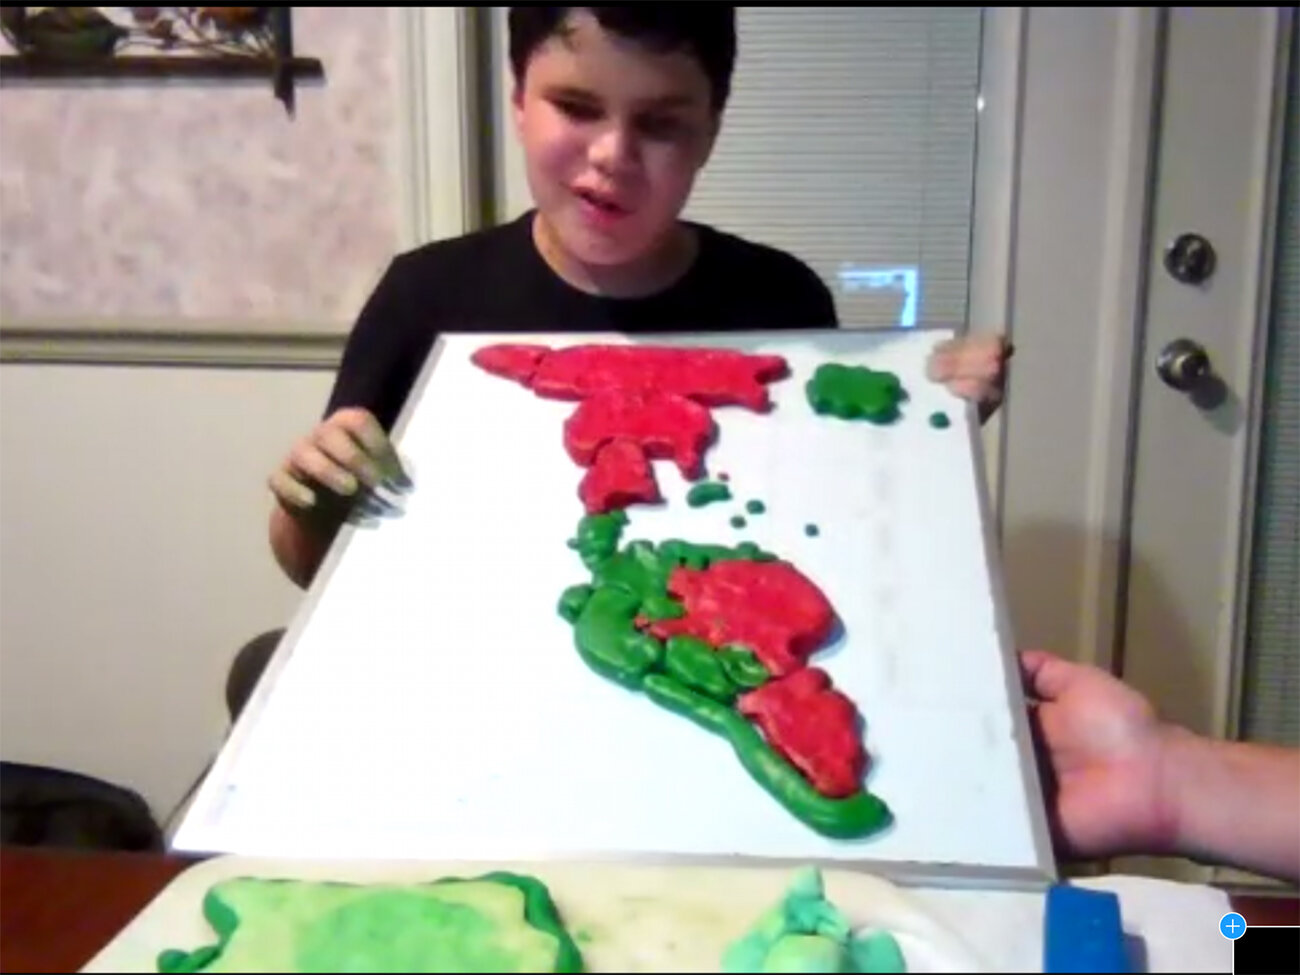
/This December, Tactile Art Club had our last meeting of the year! We were thrilled to have 28 participants join us for a celebration of holiday fun. At the beginning, we got to know each other and shared our favorite holiday traditions with the group. After some bonding time, we unwinded with Christmas music and made special salt dough ornaments to give to our loved ones or decorate our homes. In this way, we explored concepts of low vs high relief, experimented with textures and shapes, and learned different carving/sculpting techniques. The club continues to spread creativity through accessible art online. We are excited to continue forming a global community and form connections with each other through this time.


To make your own salt dough ornaments, here is a transcript of the instructions. These instructions will include the recipe to make the salt dough and potential design ideas. This is a basic template that will give you a starting point to create a beautiful ornament. Feel free to customize it to express yourself and create something unique.
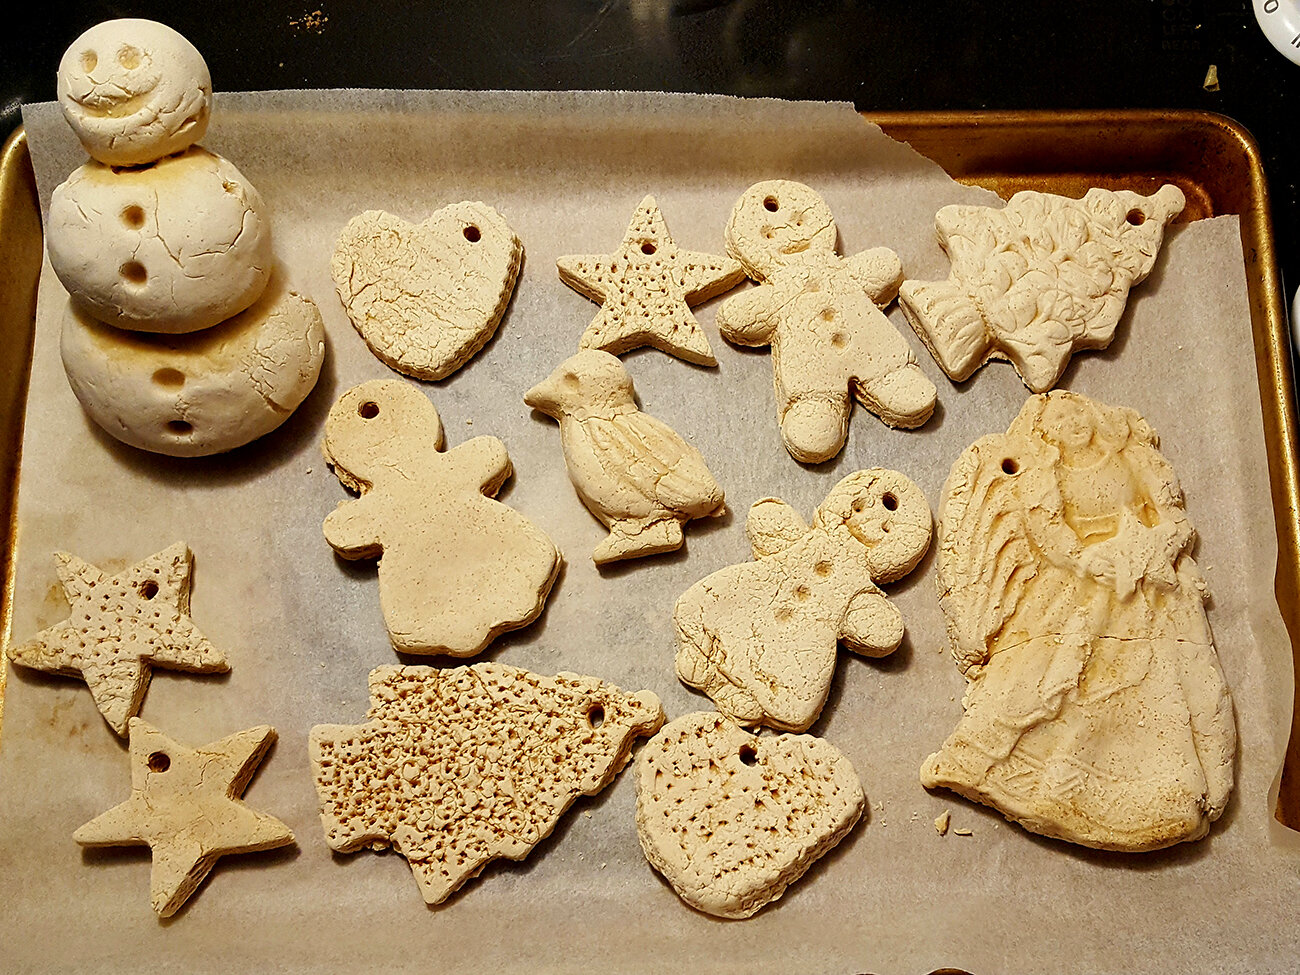
Ornament Ideas:
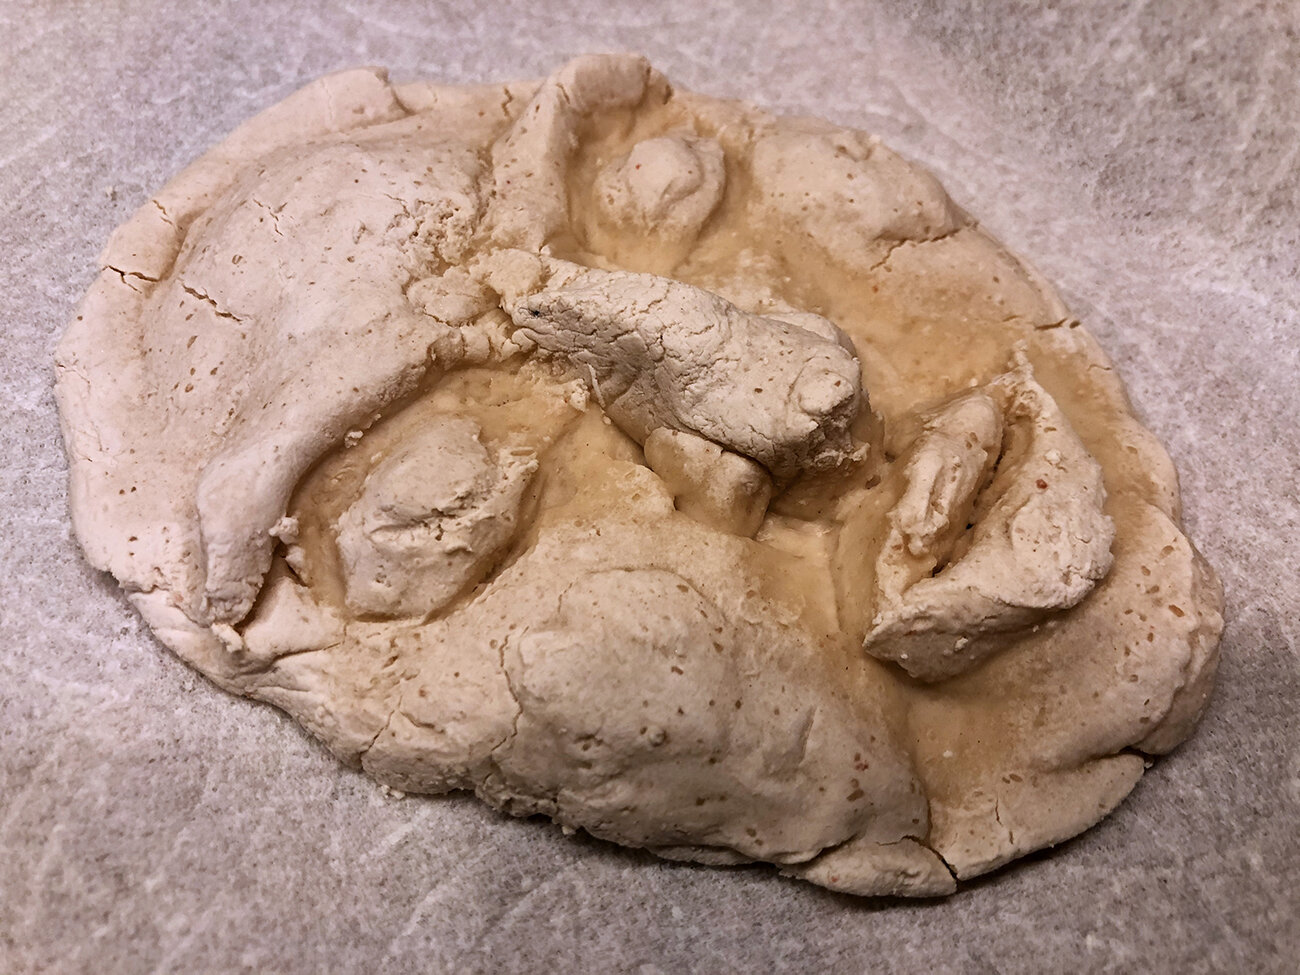
Handprint ornaments. Roll out an even sheet of dough. Then, place your hand firmly into the dough. You can cut it out or leave it as an imprint as you decorate and personalize it.
Cookie cutter/ carved ornaments. Roll out an even sheet of dough. Then, using a cookie cutter if you have one, firmly press it into the dough to create unique shapes! If you do not have one on hand, use a toothpick or a butter knife to gently carve out the shape you want. Once you are satisfied, firmly press into the dough to make an even cut.
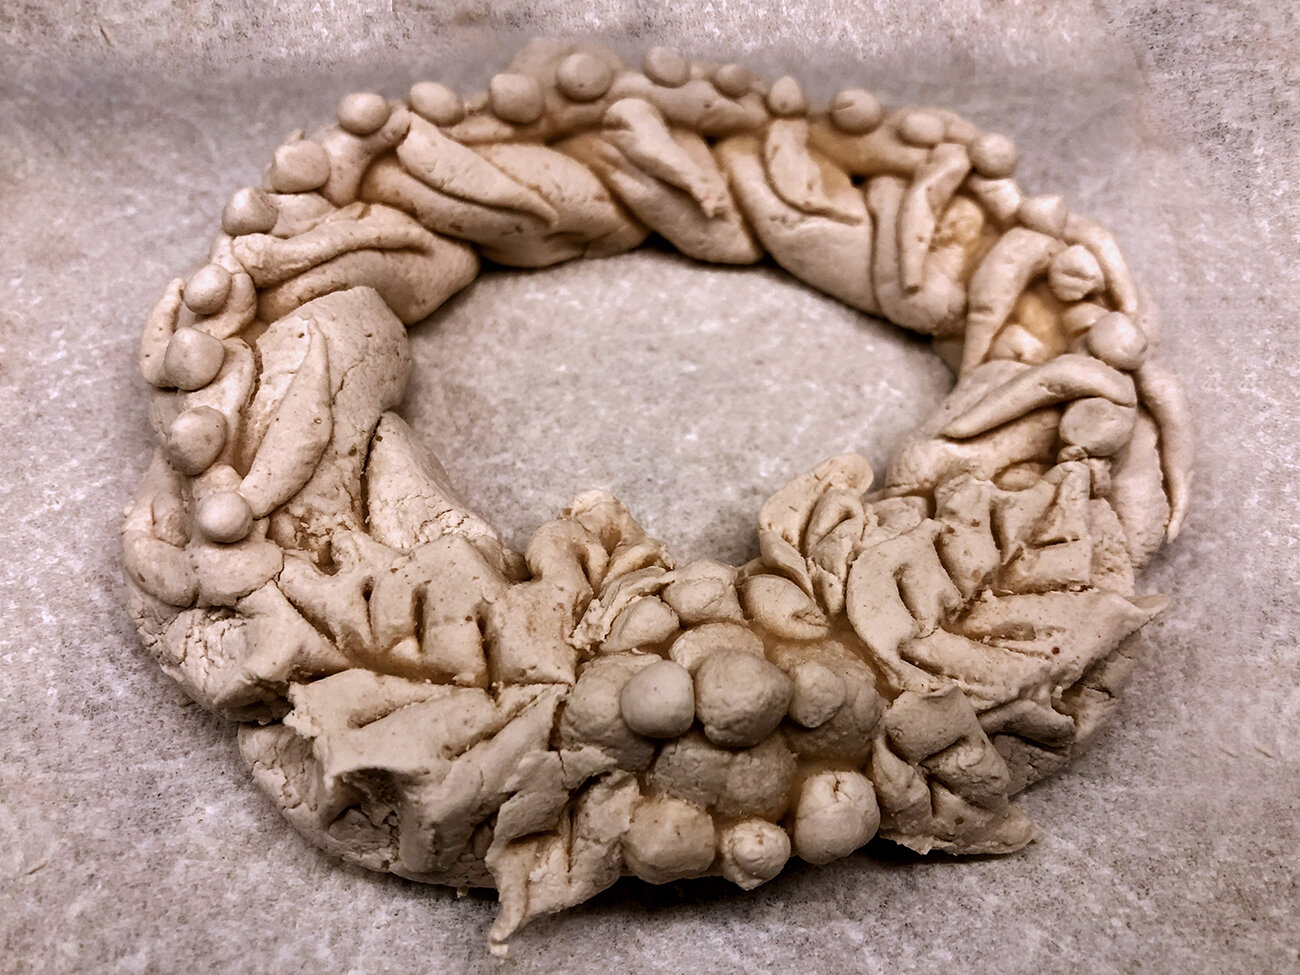
Wreath ornaments. Placing your dough on the table, use your hands to roll out 3 coils of clay. Then, pinch the coils together at the top and braid them. After braiding, press the bottom edge to the top edge to create a circle and decorate.
Technique Ideas:
Use high- relief coils to add additional textures and shapes to your ornaments
Use stamps or interesting objects to imprint unique designs
Use a knife or toothpick to carve our fine low relief details
Use light pressure to create carvings and firm pressure for cut outs
Create balls of dough in various sizes and use them to decorate your ornament
Use different thicknesses of dough to manage weight and add dimension to your piece
Salt Dough Ingredients:
4 cups all purpose flour (Note: Use all purpose flour, not self-rising)
1 cup salt
1.5 cups warm water
Instructions for making Salt Dough:
1. Combine all of your ingredients (flour, salt, warm water).
2. Knead for at least 10 minutes to thoroughly mix the dough until your dough is soft. If your dough is too dry, add a tablespoon of water at a time. If your dough is too sticky, add a little more flour. The dough should be smooth and roll out with not too many bumps.
3. (Optional) - Add a sprinkling of Cinnamon for a festive scent.
Baking:
You can either air dry, which will take a variable amount of time depending on what you made (usually a couple of days), or you can bake. To bake, preheat the oven to 300 degrees and put in your ornaments for an hour. After an hour, check the texture and, if they are not yet firm to the touch, bake them for a little longer until they are sturdy.
Tags:
#tactilceart, #Artfortheblind, #touchart, #visuallyimpaired, #blindartist,, #accessibleart, #artforall, #sensoryart, #BlindandVI, #accessibility, #inclusion, #artmuseums, #artforeveryone, #accessiblemuseum
Art for the visually impaired, Art for the Blind
