
Pulp to Paper
By Maria Nerius
Papermaking is one of the easiest and exciting crafts that can be done with all age groups with little trouble or experience. Once you've poured and couched your first sheet of handmade paper, you'll be hooked on this ever-changing art form.
Crafting handmade paper is really almost like re-making paper. You don't start from scratch, but rather pulp papers that you might have lying around.
You are going to become a recycle expert before you finish drying your first sheet of handmade paper! Stop throwing out those envelopes, direct mail letters and other papers that get filed in the trashcan. You can use all of them to create new sheets of handmade papers.
Keep scraps of tissue paper, construction paper and even magazine pages. Although you don't want to pulp only glossy papers, tossing in a few scraps can make interesting paper.
You'll also want to take a stroll in the garden or woods.
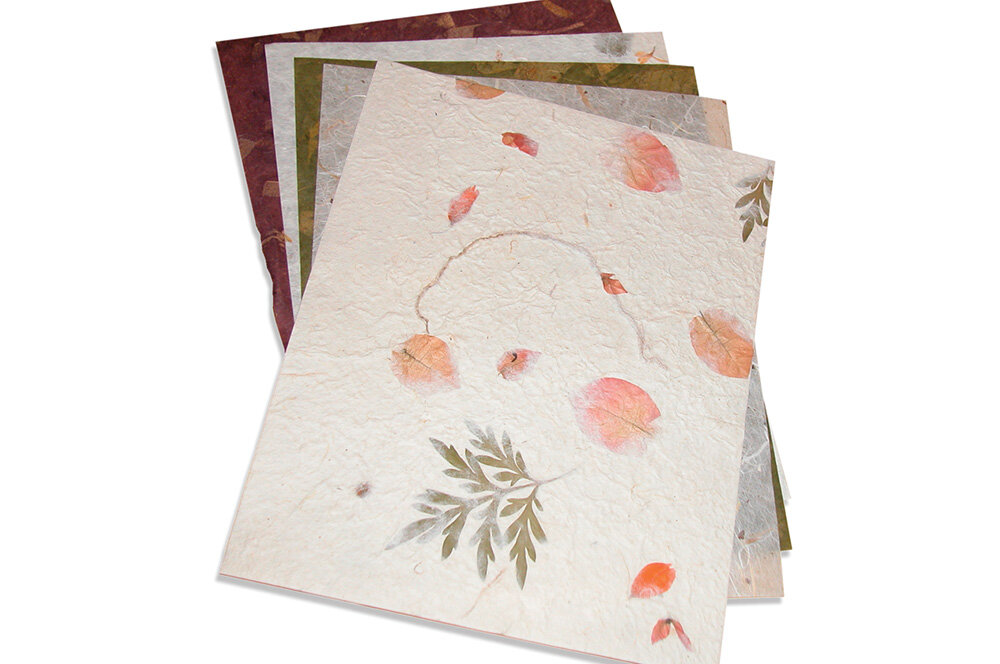
Naturals and botanicals, like flower petals, leaves and ferns are fun additives in the papermaking process. You can also use spices and scents. Just about anything natural can be used.
You may want to keep a notebook handy to jot down your own paper recipes. Unless you are really trying, no two sheets of handmade paper ever turn out the same.
Here's what you need to make paper…
Handmolds
Paper to recycle
Blender
Water
Large tub, vat or kitchen sink
Sponges
Couch sheets or plain newsprint
Paper press or heavy books
Iron and ironing board
Botanicals and other additives, like rose petals, statice, angelwings, non-metal glitters, confetti, micas, leaves, ferns, grasses, and decorative napkins
There are two methods to make paper. One is called the pour method for which you'll need a pour handmold. The second is called the dip method for which you'll need a dip handmold. Here are the step-by-steps for each method.

Pour Method
A pour handmold has a deckle (top wooden frame) with high sides, usually three inches or more. To make paper, the handmold is placed in a dishpan with 3-4 inches of water. A small amount of pulp is "poured" into the deckle.
1. Select a piece of wastepaper (recycle an old envelope or copier paper) that is slightly larger than the sheet you want to make (to make a half-size sheet of paper -- 5.5" x 8.5" -- use 3/4 of an 8.5" x 11" sheet of wastepaper). Tear into 2" x 2" pieces, and put in a blender with two cups of water. Blend on high for 20 seconds.
2. Place the assembled handmold in 4" of water.
3. Pour pulp from blender into the handmold. Agitate (mix) the pulp with your fingers to get the fibers evenly distributed. Don't be shy-- give it a good stir.
4. Lift the handmold out of the water. A paper sheet will form on the papermaking screen.
5. Move the handmold to a tray. Open the handmold and remove the wooden deckle. Leave the screen with the newly formed sheet on a drain rack.
6. Protect the new sheet with a cover screen and use a sponge to remove water from the sheet.
7. Remove the cover screen. Turn the new sheet over onto a couch sheet or piece of cloth. Use a sponge on the back of the papermaking screen to get a little more water out. Gently peel off the papermaking screen.
8. Put another couch sheet or piece of cloth over the sheet. Press.
9. Dry the sheet with an iron, or put it between dry couch sheets or cloths under some heavy books to finish drying.
Dip Method
A dip handmold has a deckle with shallow sides. It is "dipped" into a vat filled with three to four inches of pulp.
1. Prepare pulp. Tear up one 8.5" x 11" sheet of wastepaper into 2" x 2" pieces. Place in blender with four cups of water. Run blender 15-30 seconds. Pour blended pulp into vat. Repeat five times, or until pulp in vat is at least three inches deep.
2. Agitate pulp. Move fingers through pulp vigorously.
3. Pick up assembled dip handmold. Hold the mold vertically over pulp on the vat's far side.
4. Slide the mold's lower edge toward you, tilting the upper edge back until the mold is flat on the bottom of the vat.
5. After pulp flows over the mold, lift it out of the pulp, keeping it level. You've just dipped.
6. Move the handmold to a tray. Open the handmold and remove the wooden deckle. Leave the screen with the newly formed sheet on a drain rack.
7. Protect the new sheet with a cover screen and use a sponge to remove water from the sheet.
8. Remove the cover screen. Turn the new sheet over onto a couch sheet or piece of cloth. Use a sponge on the back of the papermaking screen to get a little more water out. Gently peel off the papermaking screen.
9. Put another couch sheet or piece of cloth over the sheet. Press.
10. Dry the sheet with an iron, or put it between dry couch sheets or cloths under some heavy books to finish drying.
11. When handmade sheets become thin -- usually after two or three sheets -- add more pulp to the vat by blending another 8.5" x 11" sheet of paper using three cups of water per sheet.
Clean up… Never put pulp or water used for papermaking down a sink or drain -- it turns to concrete! For the pour method, flush water down the toilet or dispose of it in the garden. For the dip method, strain the leftover pulp and freeze in a plastic bag or save in a clean milk jug. Add a few drops of wintergreen oil to reduce spoilage and odor.
Did You Know?
Ts'ai Lun, a Chinese government official and scholar gets the most credit for inventing paper. He ground up plants and spread it out onto a mat made of coarse cloth and a bamboo frame. It might not have looked like much, but once the sun had dried the mush, the result was paper.
There is some evidence that paper might have been created before Lun, but he was the first to record his efforts. Most likely on his own paper!
Before paper people scratched and even painted on cave walls and stone tablets. They also wrote on thinly sliced papyrus reed that was tightly woven into sheets. Papyrus (a plant) was eventually pulped to make sheets of paper.
I learned the art and craft of papermaking from one of the leading paper experts in the United States, Arnold Grummer. I don't think Mr. Grummer has seen a piece of paper that hasn't fascinated him and since 1976 when he formed his company, Greg Markim Inc. (named for his three children: Greg, Mark and Kim).
He has been teaching the world the joy of papermaking. Arnold Grummer has designed fail-proof handmolds (sometimes called papermaking frame and screen) that make papermaking easy.
More on Papermaking:
Arnold Grummer's Complete Guide To Easy Papermaking, by Arnold Grummer (Krause Publishing)
Tin Can Papermaking: Recycle For Earth And Art, by Arnold Grummer (www.arnoldgrummer.com)
Maria Nerius has been designing and writing craft projects for 15 years and is the craft expert at CreateForLess.com. If you have questions, comments, have craft ideas of your own, or would like to see a particular craft in an upcoming issue, e-mail Maria at mnerius@cfl.rr.com.