
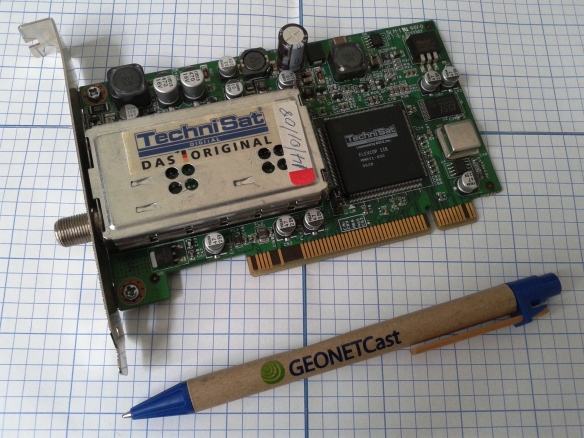
A Technisat SkyStar 2 PCI DVB-S Receiver and a super cool GEONETPen
Nowadays, ethernet DVB-S/S2 receivers like the NOVRA’s S300D or the Ayecka’s SR1 are the most used on “Cast” receive stations like GEONETCast-Americas, EUMETCast, CMACast and HimawariCast.
The benefits of having an ethernet enabled receiver are many (you may have it anywhere on your local network, better monitoring capabilities, better signal/noise quality, they don’t need drivers, etc.), however, they are relatively expensive. A DVB-S ethernet receiver costs around USD 350,00 and a DVB-S2 ethernet receiver around USD 600,00.
Not so many years ago, PCI receivers (especially the Technisat model from the photo above) were used on most stations. They are super cheap! Check out this link, you may buy one of these for 23,00 USD!
However, we had a hard time using one of these with Windows machines back then. Often, the station stopped ingesting due to driver issues and other obscure reasons. In the other hand, we had great results on Linux stations. We have a station running for years with one of these, without any problem.
Please find below a procedure to install a Technisat SkyStar 2 PCI receiver on a Linux machine. The procedure below was tested on CentOS 6.8 and CentOS 6.9.
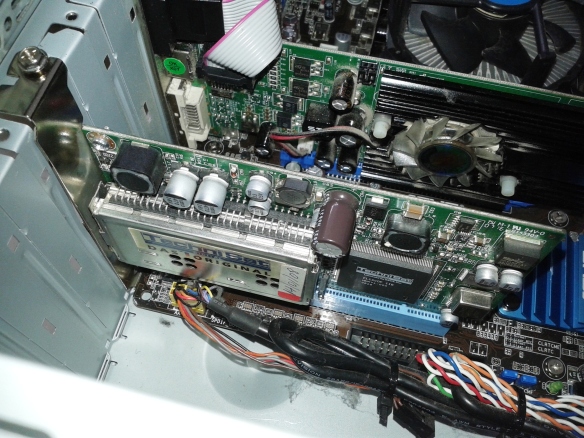
1-) Insert the PCI board in the PCI slot from your Workstation:
2-) Connect the output of your LNB to the female F type connector from your receiver:
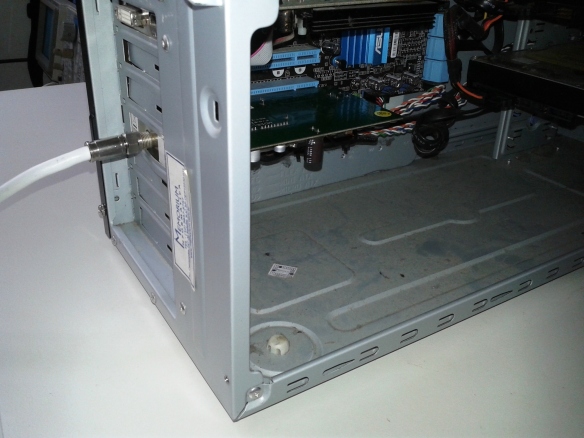
Our (dusty) workstation
3-) Download the “SkyStar2_pci.tar” file from this link.

4-) Unpack it with the following command:
tar -xf SkyStar2_pci.tar
You should see the Skystar2_pci folder.

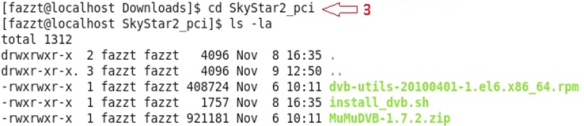
5-) Enter the Skystar2_pci folder. You should see three files there:
cd /SkyStart2_pci
Note: The provided script “install_dvb.sh” will assign the PCI board the following IP: 192.168.238.238. If you want a different IP, you may change it on lines 29 and 42 of the script before executing the script.
6-) As root, execute the install_dvb.sh script:
./install_dvb.sh

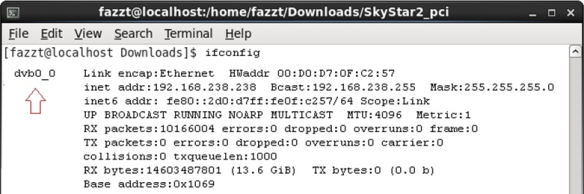
7-) When the installation finishes, you’ll see the dvb0_0 interface being shown:
.ifconfig
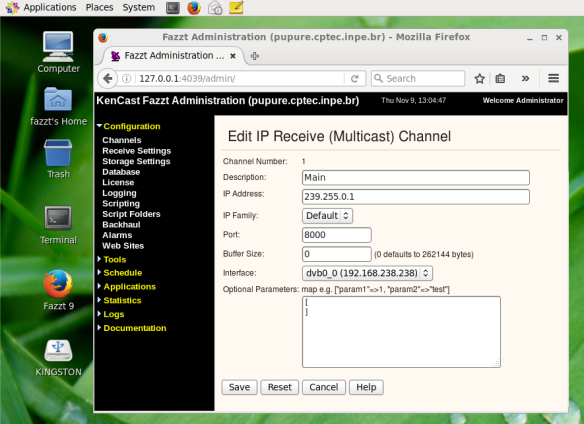
8 ) You’ll be able to see the PCI board IP on the FAZZT interface:
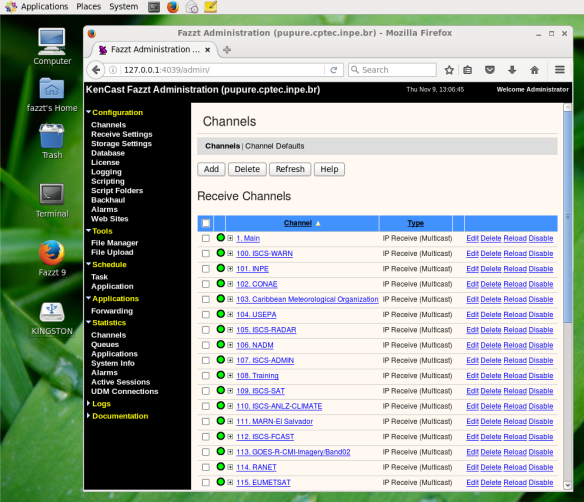
The GNC-A channels will start to show:
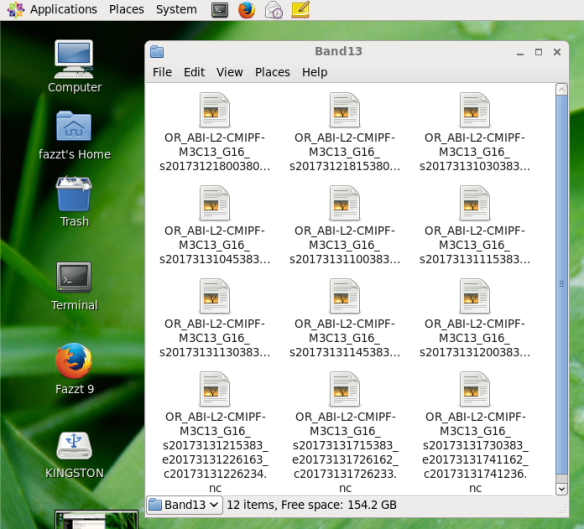
And the ingestion folders will be populated. The example below shows some GOES-16 data (Band 13):
Ant that’s it! You’re ingesting GNC-A data with a USD 23,00 receiver. If you already have one collecting dust, give it a try. If you want to test GNC-A and don’t have money to buy and ethernet receiver, this is the way to go.
But we definitely recommend getting an ethernet receiver in the future.
Please check our other posts about GNC-A Ingestion Hardware / Software:
- Configuring the NOVRA S300D Receiver: The Easy Way
- Installing the GNC-A Ingestion software on CentOS 6.9: The Hard Way
- Installing the GNC-A Ingestion software on CentOS 6.9: The Easy Way
- Installing the GNC-A Ingestion software on Ubuntu 16.04: The Hard Way
- Installing the GNC-A Ingestion software on Ubuntu 16.04: The Easy Way
- How does the sun cause interference to your GNC-A station reception?
